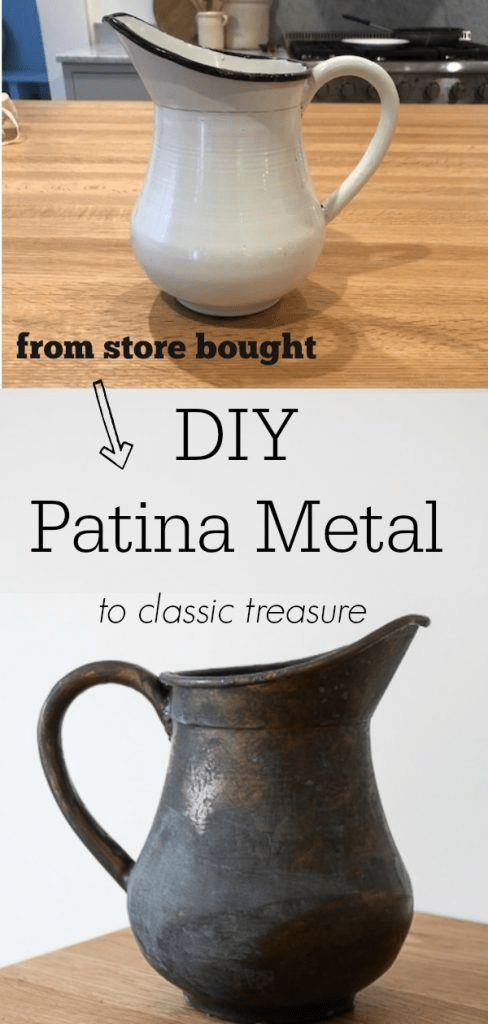
- The Art of Transformation: Why Patina Creates Magic in Your Home
- Understanding Patina: Science Meets Style
- Essential Materials: Your Patina Toolkit
- Method 1: The Classic Vinegar and Salt Technique
- Method 2: Ammonia Fuming for Deep, Rich Patinas
- Method 3: Hydrogen Peroxide and Salt Acceleration
- Advanced Techniques: Professional-Level Results
- Project Ideas: Transforming Your Space
- Color Theory and Patina Selection
- Troubleshooting Common Issues
- Maintenance and Longevity
- Cost Analysis: DIY vs. Professional
- Integration with Overall Design Schemes
- Seasonal and Trending Considerations
- Frequently Asked Questions
- How can I replicate the look of a $500 Restoration Hardware™ aged brass fixture for under $20?
- What is the best way to create an aged metal look on a cheap IKEA® lamp or fixture?
- How do I safely remove old lacquer from a vintage piece before applying a new patina?
- Is it possible to apply a DIY patina finish to non-metal items like plastic to make them look like reclaimed metal?
- How do I get that authentic “French Country” or “Brocante” aged look on new items?
- Conclusion: Embracing the Beauty of Age
- Realated Posts
The Art of Transformation: Why Patina Creates Magic in Your Home
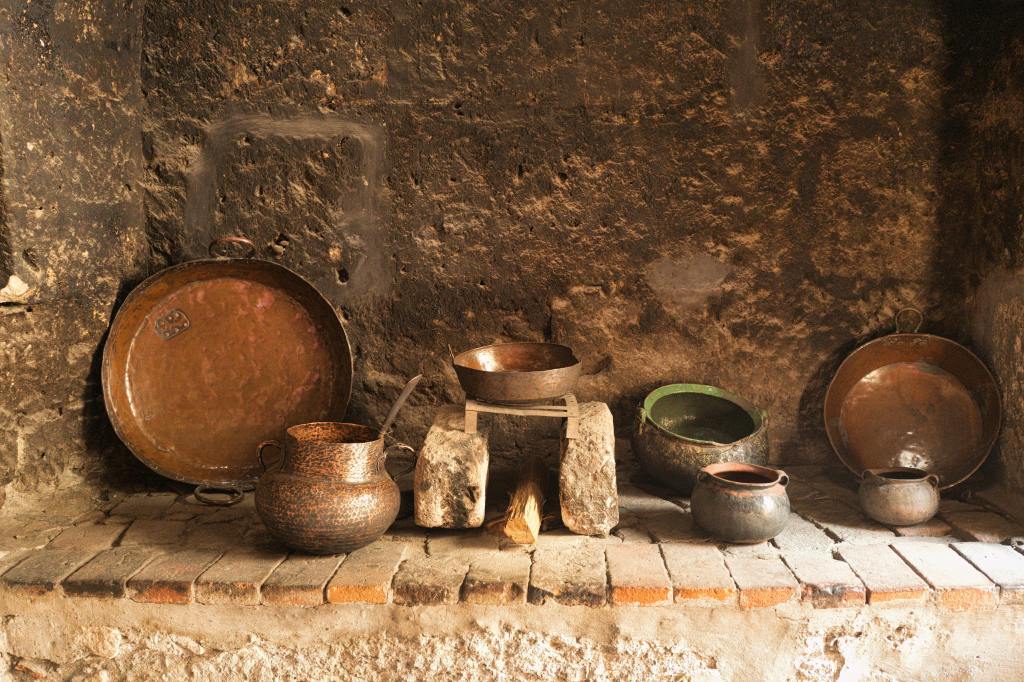
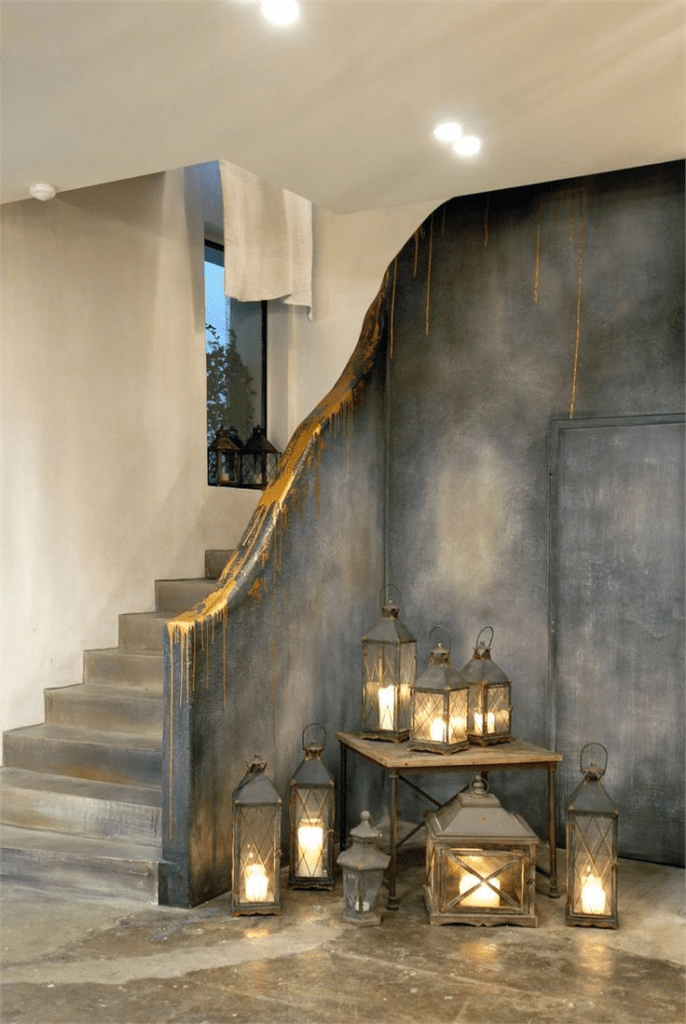
Picture this: you walk into a high-end boutique hotel lobby. Those gorgeous weathered copper planters? The stunning aged brass fixtures that seem to whisper stories of decades past? They cost thousands. But here’s the secret interior designers don’t want you to know you can recreate that exact same luxurious, time-worn elegance using materials that cost less than your weekly coffee budget.
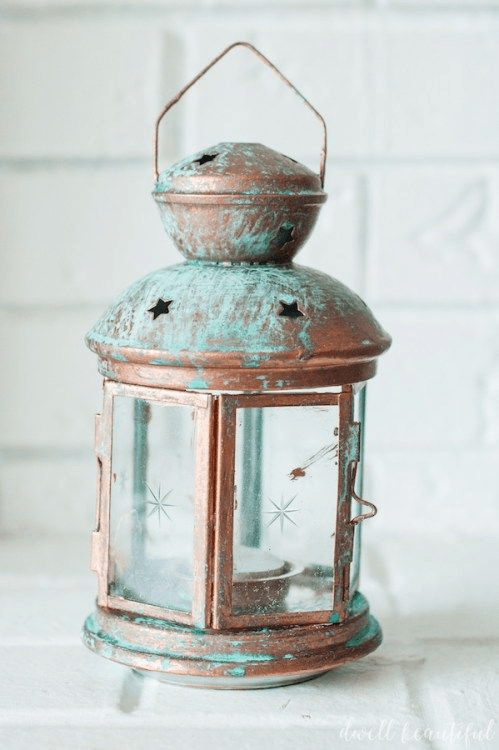
Natural patina represents one of nature’s most beautiful aging processes. It’s chemistry meets artistry. When metals like copper, brass, and bronze interact with oxygen and moisture over years, they develop these incredible blue-green surfaces that speak of authenticity and timeless elegance.
The good news? We’re going to fast-track this natural process.

Understanding Patina: Science Meets Style
Before diving into techniques, let’s understand what we’re actually creating. Patina isn’t just “old-looking stuff” it’s a specific oxidation process that creates protective layers on metal surfaces. Real patina forms naturally through exposure to elements like rain, sea air, and atmospheric conditions.
Venice’s famous green-tinged domes showcase centuries of natural patina development. The Statue of Liberty? She started out brown and developed her iconic green patina over thirty years of New York weather exposure.
But we don’t have thirty years to wait for our home decor projects.
The Chemistry Behind Beautiful Aging
When copper reacts with oxygen, it forms copper oxide that’s the brown layer you see first. Continue the process with moisture and carbon dioxide, and you get copper carbonate and copper chloride. These create those stunning blue and green hues that make patina so coveted in luxury design.
This knowledge becomes our roadmap for acceleration.
Essential Materials: Your Patina Toolkit
Here’s what you’ll need to create professional-looking patina finishes. Most items are probably already in your home or easily available at your local hardware store.
Basic Supplies
- Copper or brass paint (Rust-Oleum Copper Spray Paint works beautifully)
- White vinegar (the kind from your kitchen pantry)
- Table salt (again, kitchen staple)
- Hydrogen peroxide (3% solution from pharmacy)
- Ammonia (household cleaning grade)
- Fine steel wool (0000 grade is perfect)
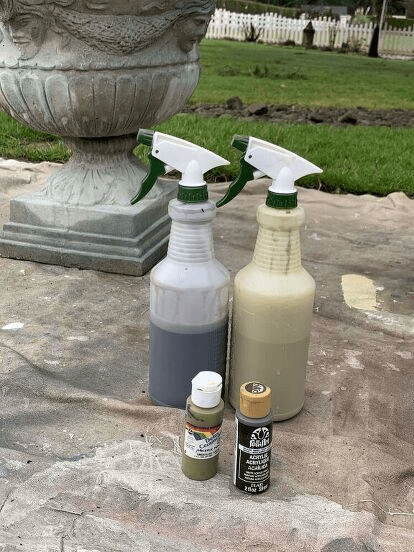
- Spray bottles (at least two for different solutions)
- Protective gloves (nitrile work best)
- Drop cloths or plastic sheeting
Advanced Materials for Premium Results
- Ferric chloride (available at electronics stores)
- Liver of sulfur (jewelry supply stores carry this)
- Copper sulfate crystals (available on Amazon)
- Fine misting spray bottles for controlled application
The beauty of patina creation lies in experimentation. Different combinations create unique effects.
Method 1: The Classic Vinegar and Salt Technique
This represents the most accessible approach for beginners. You’ll achieve gorgeous results using ingredients from your kitchen.
Step-by-Step Process
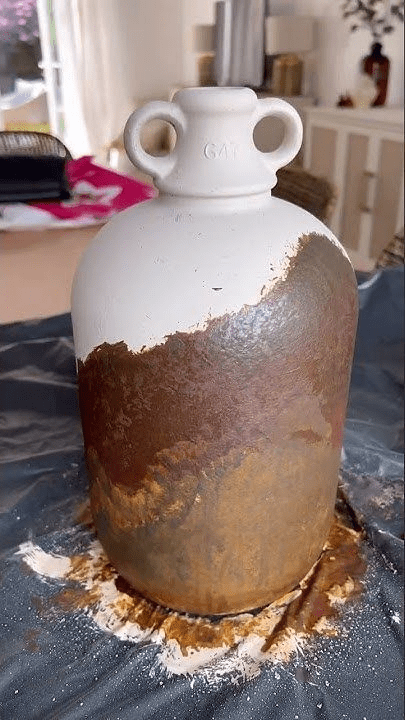
Start with your base object could be a thrift store brass lamp, new copper-colored decor piece, or even painted items that need aging. Clean thoroughly with degreasing dish soap. Any oils or residues will interfere with the patina process.
Apply your base metallic paint if working with non-metal items. Quality metallic finishes make all the difference in final results. Allow complete curing usually 24 hours minimum.
Create your aging solution by combining one cup white vinegar with two tablespoons salt. Stir until salt dissolves completely. The acetic acid in vinegar accelerates oxidation while salt acts as a catalyst.
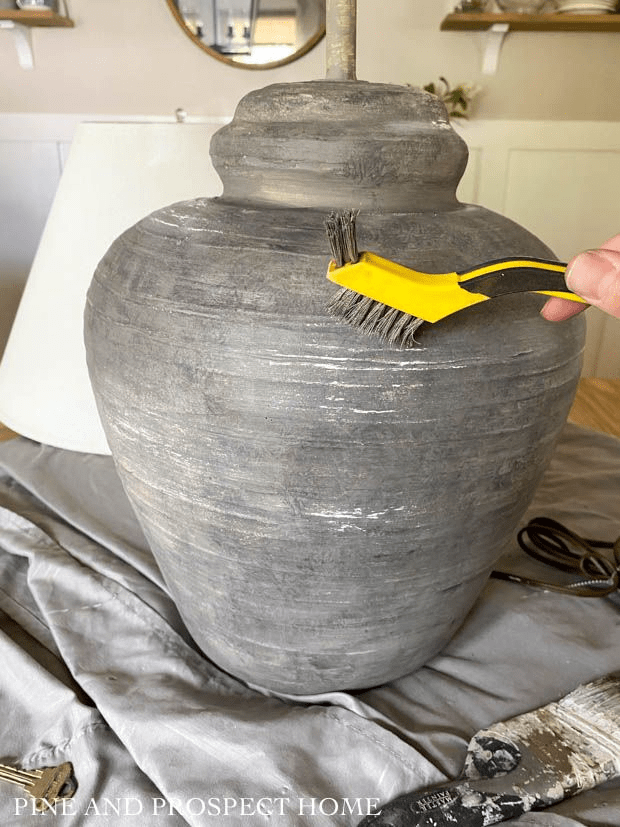
Here’s where technique matters: don’t just spray and hope. Apply solution lightly using a misting bottle. Too much liquid creates drips and uneven patterns. You want subtle moisture that encourages natural-looking oxidation patterns.
Wait. Watch. Magic happens slowly.
Within hours, you’ll notice color changes beginning. Green-blue hues start emerging in random patterns that mimic decades of natural weathering.
Pro Tips for Vinegar Method Success
Temperature affects results dramatically. Warmer environments (75-85°F) accelerate the process. Cold conditions slow everything down. Consider working in a warm garage or using a space heater to maintain optimal conditions.
Humidity matters too. Slight moisture in the air helps the process, but too much creates problematic dripping. Aim for 50-60% humidity if possible.
Multiple light applications work better than single heavy coating. Think of it like building layers of authenticity.
Method 2: Ammonia Fuming for Deep, Rich Patinas
This technique produces more dramatic results but requires additional safety precautions. The payoff? Absolutely stunning deep blues and greens that rival expensive antiques.
Safety First Approach
Work outdoors or in extremely well-ventilated areas. Ammonia fumes are harsh and dangerous in enclosed spaces. Wear protective eyewear and quality gloves. Keep children and pets away from the work area.
Set up your workspace with adequate ventilation. A fan blowing fumes away from you helps significantly.
The Fuming Process
Place your prepared metal object inside a large plastic container or garbage bag. Position a small bowl of household ammonia nearby not touching the object. Seal the container carefully.
The ammonia vapors interact with the metal surface over several hours to days. Check progress every few hours initially, then daily. Different metals respond at different rates.
Copper develops rich blues and greens relatively quickly often within 12-24 hours. Brass takes longer but creates equally stunning results. The key is patience and monitoring.
Controlling the Process
Want specific areas more aged than others? Use painter’s tape to mask sections before fuming. This creates beautiful contrast between heavily aged and subtly weathered areas.
For varied effects, remove the object at different stages and seal certain sections with clear coat before continuing the process.
Method 3: Hydrogen Peroxide and Salt Acceleration
This method offers more control over the final appearance and works exceptionally well for smaller decorative objects.
Mix equal parts hydrogen peroxide and white vinegar in a spray bottle. Add one tablespoon of salt per cup of solution. The hydrogen peroxide acts as an oxidizing agent while vinegar provides acidic conditions perfect for patina development.
Apply this solution more heavily than the basic vinegar method. The hydrogen peroxide creates more aggressive oxidation that produces faster, more dramatic results.
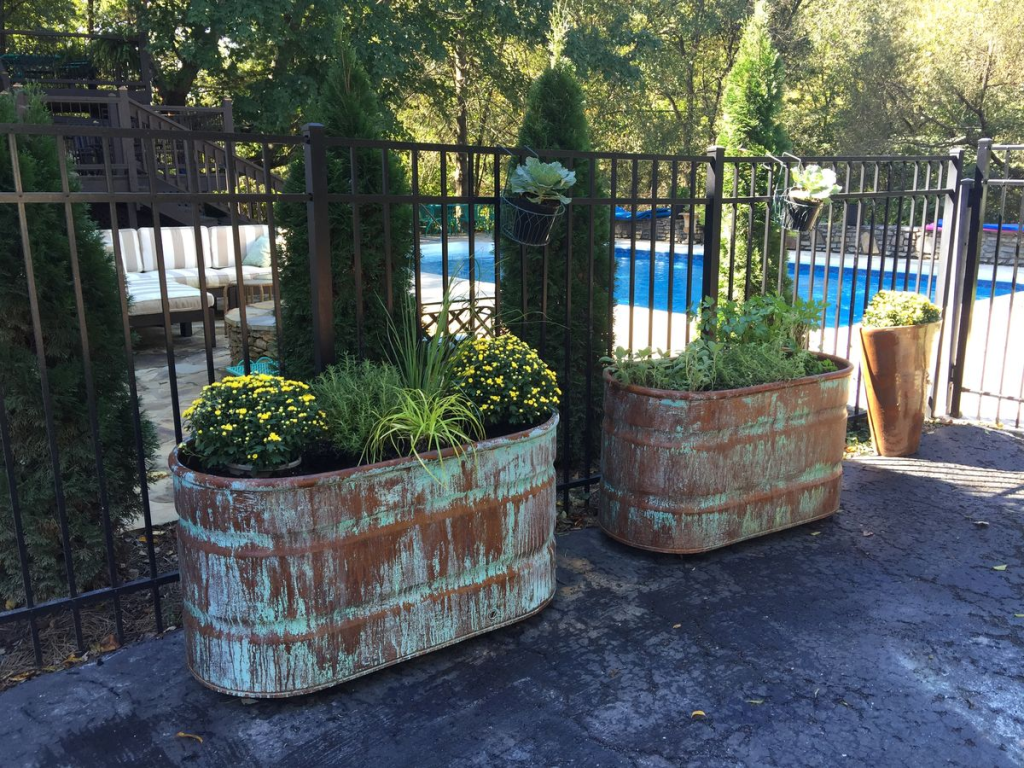
Expect visible changes within 30-60 minutes. Colors deepen over several hours. This method works particularly well for creating the kind of aged copper planters you see in expensive garden centers.
Advanced Techniques: Professional-Level Results
Ready to take your patina game to the next level? These techniques require slightly more investment but produce museum-quality results.
Liver of Sulfur Method
Liver of sulfur (potassium sulfide) creates incredibly rich, dark patinas with deep color variations. Mix a small amount with warm water according to package directions. The solution works quickly, so have stopping strategies ready.
This method produces the kind of dramatic aging seen on high-end architectural elements. Think expensive outdoor light fixtures or luxury hardware.
Ferric Chloride Etching
Used carefully, ferric chloride creates realistic rust and corrosion effects on steel and iron objects. It actually etches the metal surface, creating authentic texture along with color changes.
This technique works brilliantly for creating aged iron garden decor or weathered steel accents. Budget-friendl
y home decor projects benefit enormously from this professional approach.
Project Ideas: Transforming Your Space
Copper Planters and Garden Accents
Transform inexpensive galvanized planters into expensive-looking aged copper containers. Start with copper spray paint base coat. Apply vinegar and salt solution for authentic weathering. Results rival planters costing hundreds of dollars.
Position these beauties both indoors and outdoors. They complement both modern and traditional design schemes perfectly.
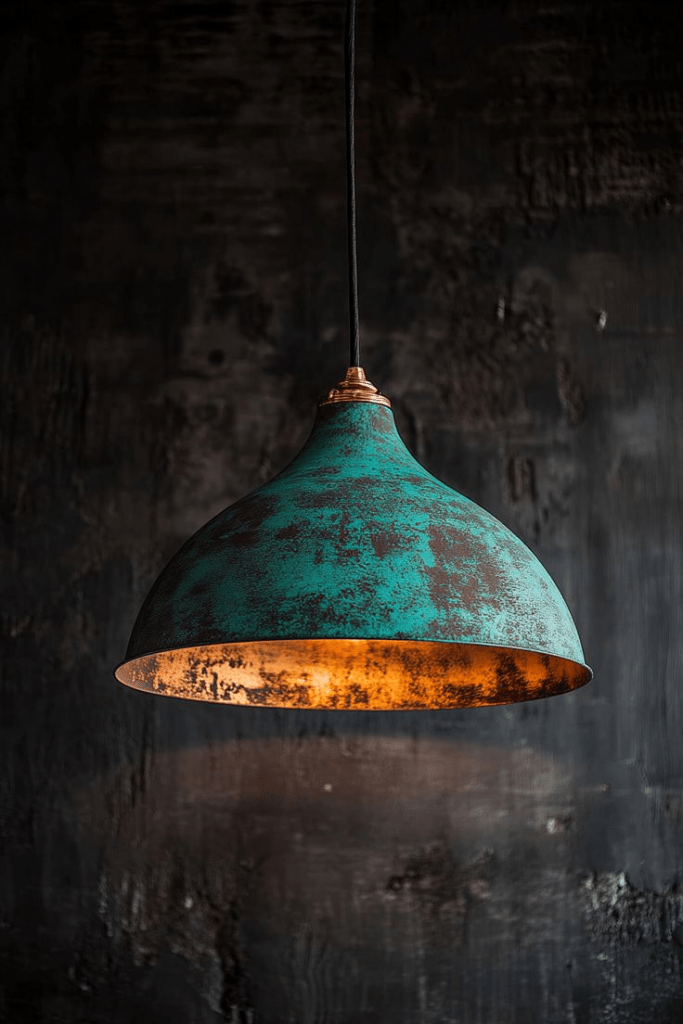
Aged Brass Light Fixtures
Update builder-grade brass fixtures using patina techniques. The transformation is remarkable cheap hardware becomes statement pieces that look like authentic antiques.
Consider the overall design scheme when choosing patina intensity. Subtle aging works well with contemporary interiors, while dramatic patina suits rustic or industrial themes.
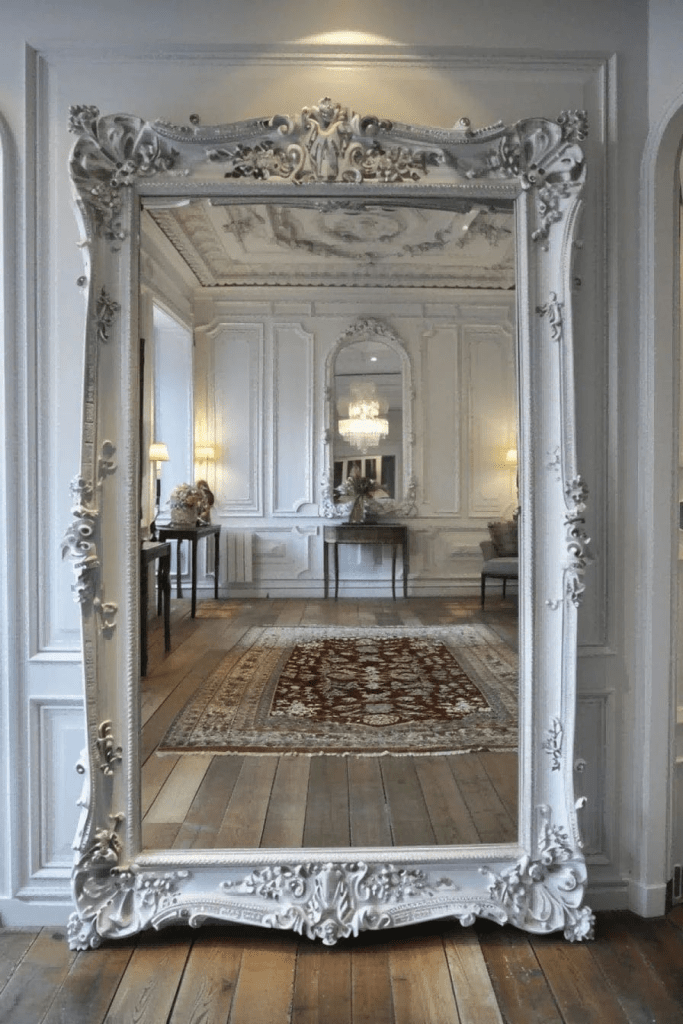
Mirror Frames and Wall Decor
Statement wall mirrors become even more stunning with aged frames. Apply patina techniques to new frames for instant vintage character.
The key is matching patina style to mirror design. Ornate frames benefit from heavier aging, while simple designs need subtle weathering.
Hardware and Architectural Elements
Cabinet hardware offers incredible transformation potential. Replace shiny new pulls and knobs with aged versions created using these techniques. The entire kitchen aesthetic changes dramatically.
Door handles, window hardware, and decorative brackets all benefit from patina treatments. Consistency across elements creates cohesive, professional-looking results.
Color Theory and Patina Selection
Different patina colors work better in specific design contexts. Understanding this relationship elevates your projects from DIY experiments to professional design elements.
Blue-Green Patinas
These classic copper oxidation colors work beautifully in coastal, traditional, and transitional design schemes. They complement both warm and cool color palettes effectively.
Consider pairing blue-green patina elements with whites, creams, and natural wood tones. The combination creates sophisticated, timeless appeal.
Brown and Rust Patinas
Warmer patina tones suit rustic, industrial, and southwestern design themes. They work particularly well with earth-tone color schemes and natural materials like leather and rough-hewn wood.
These colors create cozy, grounded feelings in interior spaces while adding authentic character to outdoor areas.
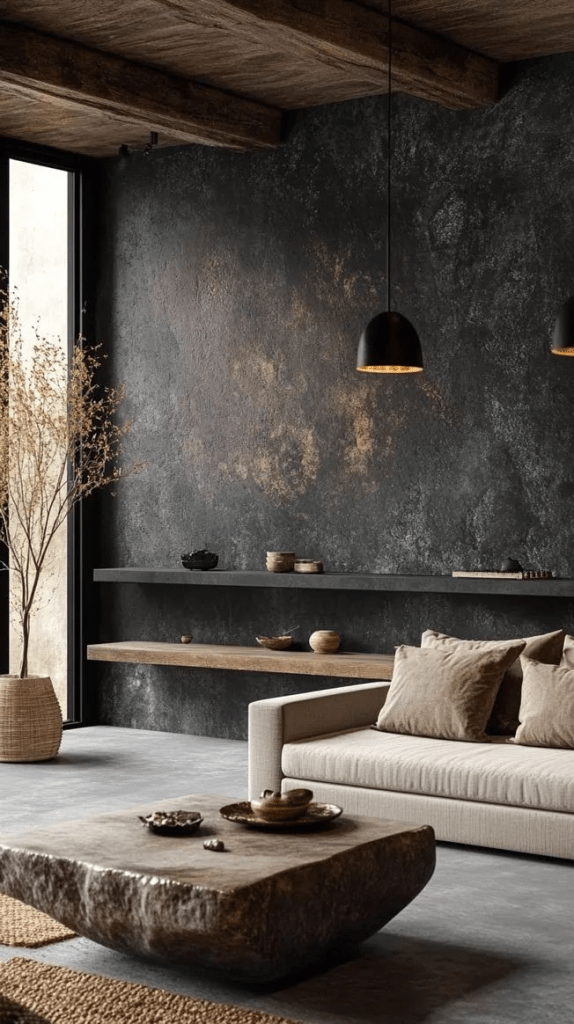
Dark and Dramatic Patinas
Deep, nearly black patinas created with liver of sulfur suit modern and contemporary interiors. They provide sophisticated contrast against bright whites and bold accent colors.
Use dramatic patinas sparingly as accent elements rather than dominant features. They work best when balanced with lighter elements.
Troubleshooting Common Issues
Even experienced DIYers encounter challenges with patina projects. Here’s how to handle the most common problems.
Uneven Color Development
Patchy or uneven results usually stem from inconsistent surface preparation or uneven solution application. Fix this by lightly sanding problem areas and reapplying treatment solutions.
Prevention works better than correction. Take time for thorough surface cleaning and use systematic application patterns.
Too Much or Too Little Aging
Over-aged pieces can be lightly sanded to reduce intensity. Under-aged pieces simply need more time and additional solution applications.
The process is forgiving you can always add more aging but removing excess requires more effort.
Color Not Matching Expectations
Different base metals and paints respond differently to patina solutions. Test small, hidden areas first to verify results before treating entire pieces.
Environmental factors like temperature and humidity also affect final colors. Document successful combinations for future reference.
Maintenance and Longevity
Properly created patina finishes last for years with minimal maintenance. However, understanding care requirements ensures long-lasting results.
Protective Coatings
Clear protective coatings halt the patina process and preserve current appearance. Use this technique when you achieve desired results but want to prevent further aging.
Choose coatings carefully some react with patina chemicals and cause discoloration. Test compatibility on sample pieces first.
Indoor vs. Outdoor Considerations
Indoor patina pieces require minimal maintenance beyond occasional dusting. Outdoor elements need periodic inspection and possible touch-up applications.
Weather exposure continues the natural aging process, which may or may not align with your design goals. Plan accordingly.
Cost Analysis: DIY vs. Professional
Creating your own patina finishes saves enormous amounts compared to purchasing aged pieces or hiring professional services.
A basic patina project costs $10-15 in materials and creates results equivalent to pieces costing $200-500 in retail stores. The savings become even more dramatic for larger projects or multiple pieces.
Professional patina services charge $50-150 per piece plus materials. DIY approaches reduce costs by 80-90% while providing identical results.
Integration with Overall Design Schemes
Successful patina projects complement rather than dominate interior design schemes. Consider how aged elements interact with existing paint colors and decor elements.
Balance aged pieces with fresh, clean elements to avoid overwhelming vintage effects. The goal is sophisticated layering that suggests collected-over-time authenticity rather than obvious DIY projects.
Seasonal and Trending Considerations
Patina finishes align beautifully with current design trends emphasizing authenticity, sustainability, and handcrafted character. These techniques support the growing movement away from mass-produced, generic decor toward unique, personalized spaces.
The timeless appeal of aged metals transcends seasonal trends, making patina projects excellent long-term investments in your home’s aesthetic appeal.
Frequently Asked Questions
How can I replicate the look of a $500 Restoration Hardware™ aged brass fixture for under $20?
Start with an inexpensive brass-toned fixture from any home improvement store or thrift shop. The secret lies in layered application techniques that mimic decades of natural aging.
First, apply a base coat of quality brass spray paint if needed. Once dry, use the hydrogen peroxide and salt method for rapid aging this creates the deep, varied tones Restoration Hardware is famous for. Focus on areas where natural wear would occur: handles, edges, and high-touch surfaces.
The key difference between DIY and expensive pieces? Subtlety and variation. Don’t age everything uniformly. Real antiques show heavier wear in logical places and lighter aging elsewhere. This mirrors the luxe-for-less approach that transforms budget finds into designer-worthy pieces.
What is the best way to create an aged metal look on a cheap IKEA® lamp or fixture?
IKEA hacks benefit enormously from patina techniques! Their simple, clean lines provide perfect canvases for aging treatments. Start by thoroughly cleaning the piece with degreasing dish soap IKEA’s protective coatings can interfere with patina solutions.
For IKEA’s popular FOTO pendant lamps or RANARP fixtures, begin with quality metallic base paint. Their lightweight construction actually works in your favor less mass means faster, more even aging.
The ammonia fuming method works exceptionally well on IKEA pieces. Their controlled manufacturing means consistent results across identical fixtures perfect for creating matching aged sets that look like expensive vintage finds.
How do I safely remove old lacquer from a vintage piece before applying a new patina?
This represents a crucial step that separates amateur results from professional-quality finishes. Old lacquer blocks patina solutions from reaching the metal surface, creating patchy, unconvincing results.
Use a quality paint stripper designed for metal surfaces. Work in well-ventilated areas and follow all safety protocols. Citristrip offers a less toxic option that still provides excellent results. Apply according to directions, then scrape away softened lacquer with plastic scrapers metal tools can scratch the underlying surface.
After stripping, clean thoroughly with mineral spirits to remove all residue. Any remaining oils or chemicals will interfere with patina development. This extra step transforms mediocre projects into stunning, authentic-looking pieces.
Is it possible to apply a DIY patina finish to non-metal items like plastic to make them look like reclaimed metal?
Absolutely! Modern spray paint technology makes convincing metal finishes possible on virtually any surface. The key lies in proper preparation and realistic expectations.
Start with thorough cleaning and light sanding to give paint something to grip. Apply a quality plastic-specific primer this step is non-negotiable for lasting results. Follow with metallic base coats that provide realistic metal appearance.
Plastic items actually offer advantages over real metal they’re lightweight, won’t rust if the finish is damaged, and cost significantly less than authentic pieces. Garden planters, decorative bowls, and picture frames all transform beautifully using these techniques.
How do I get that authentic “French Country” or “Brocante” aged look on new items?
French brocante pieces possess specific characteristics that distinguish them from generic “vintage” looks. They show gentle, romantic aging rather than harsh industrial weathering. Think soft blue-greens, warm copper tones, and subtle variations rather than dramatic contrasts.
The vinegar and salt method works perfectly for this aesthetic. Apply solutions lightly and build color gradually. French antiques rarely show heavy, uniform aging instead, they display gentle patina that suggests decades of careful use and loving maintenance.
Focus on creating the kind of pieces you’d find in Provence markets—items that whisper rather than shout their age. Layer different patina intensities: heavier on handles and edges, lighter on protected surfaces. This nuanced approach creates the sophisticated elegance that makes French brocante so coveted worldwide.
Pay attention to color coordination with your overall design scheme French country aesthetics rely on harmonious, muted palettes that feel collected over time rather than purchased all at once.
Conclusion: Embracing the Beauty of Age
Natural patina DIY techniques open incredible possibilities for creating expensive-looking decor using basic materials and simple chemistry. The processes require patience and experimentation but reward you with unique pieces that rival high-end retail offerings.
Start small with simple projects to develop your technique and understanding of how different materials respond to various treatments. As confidence builds, tackle larger, more ambitious transformations.
Remember that imperfection creates authenticity in patina work. Natural aging processes never create perfectly uniform results, so embrace variations and unexpected outcomes as part of the charm.
The beauty of these techniques lies not just in cost savings but in the satisfaction of creating something genuinely beautiful and unique for your home. Each piece tells a story of transformation and creativity that purchased items simply cannot match.
Your home deserves the sophisticated elegance that aged metals provide. With these techniques, expensive looks become accessible regardless of budget constraints. Start your patina journey today and discover the transformative power of beautiful aging.
Follow, Like and Suscribe !
